
AWS Cognito is great tool to implement a secure and scalable user authentication for your web and mobile apps. It offers a complete user identity management system that allows you to build great user experiences for your customers. With ASP.net Core 3.1 we are going to build an API that utilize the Cognito service for registering and authenticating the users.
The advantage is that you won t need to write code in your application to handle it.
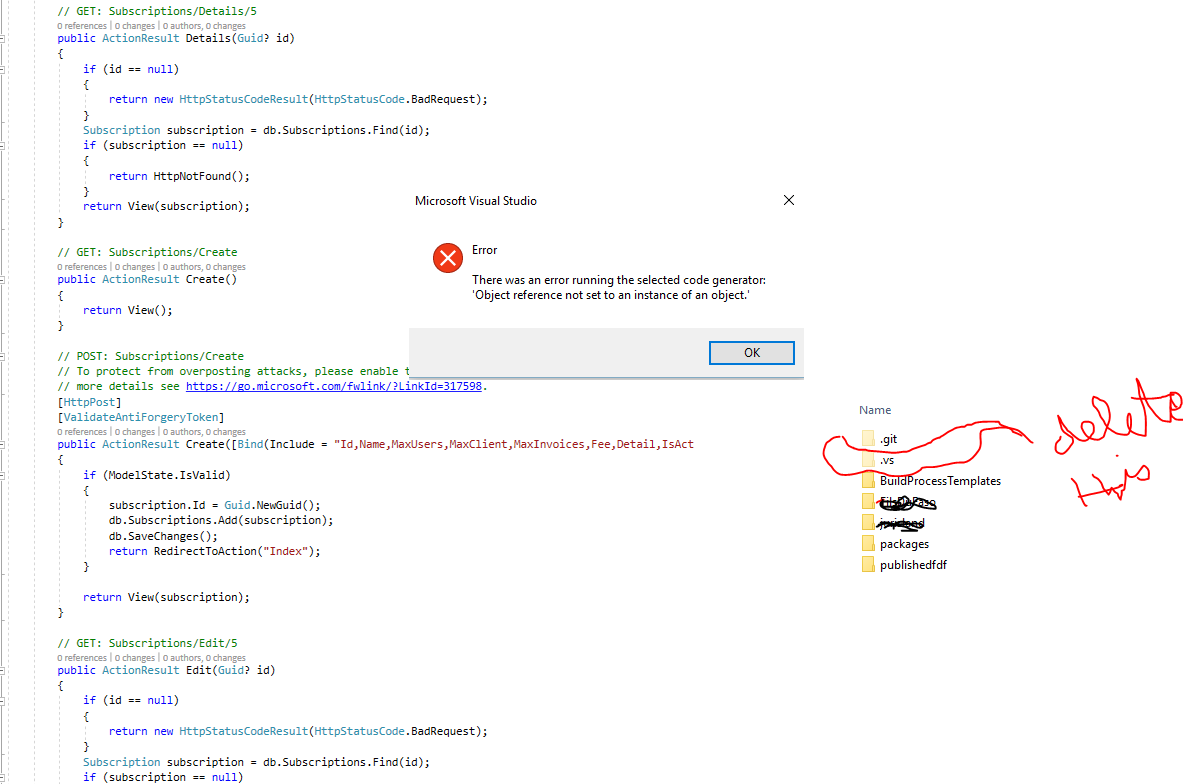
First you need to make sure you have an AWS account with admin permission. If you don t have one, Amazon is giving you free tier usages. You just need a credit card to apply. Trust me, it is great as long as you do not over use: Always delete your services after your lab; it is safer that way.
Follow this link to apply for Aws free Tier
-
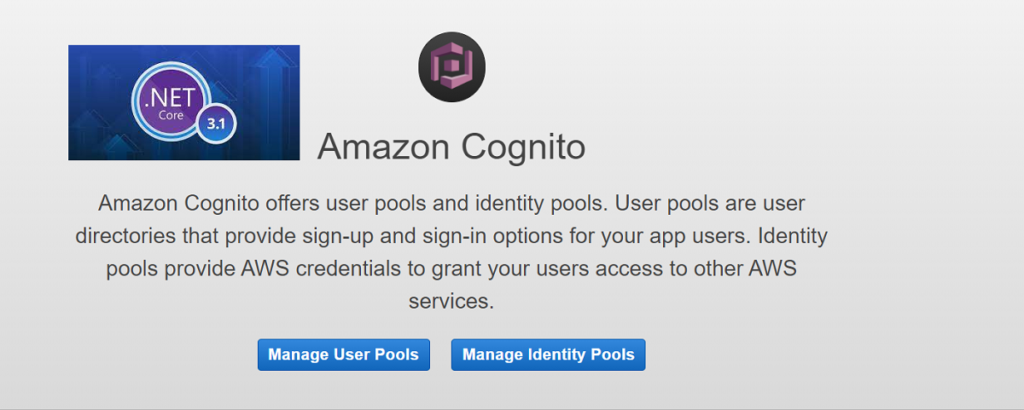
Log in to your AWS console and find Cognito
- Create a user Pool: From the cognito welcome page, click on Manage user pools>Create a User pool
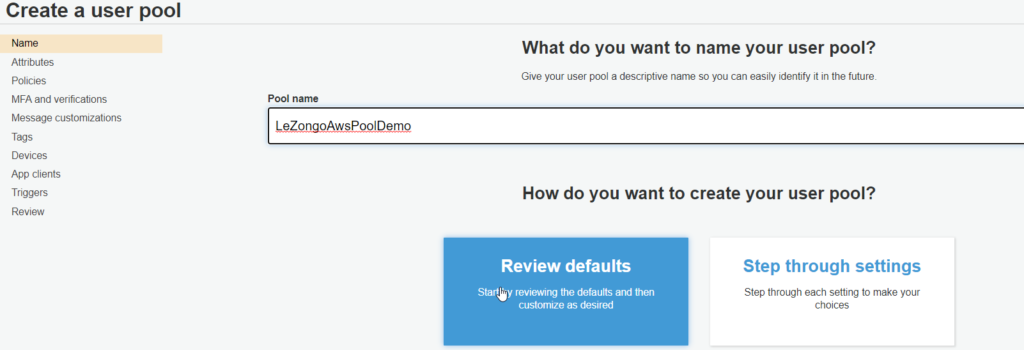
- Give the pool a name then select Review default, then create pool
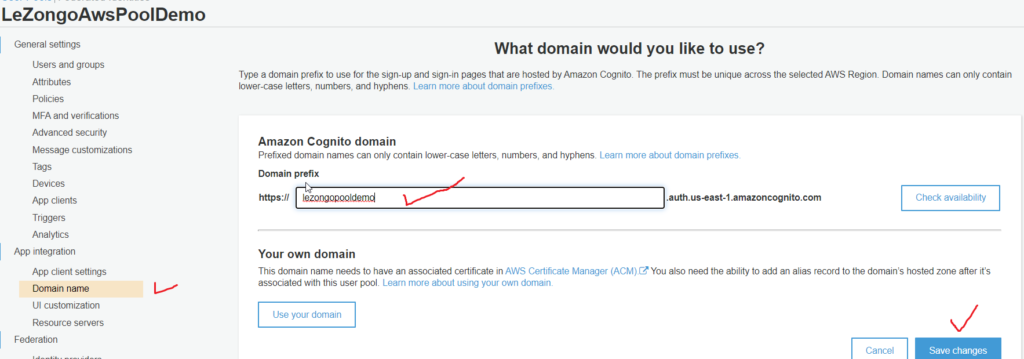
- Go to the domain and give some name
- Go to App Clients and create one. You need to note the 2 field: App client id and App client secret. They can be found under App detail
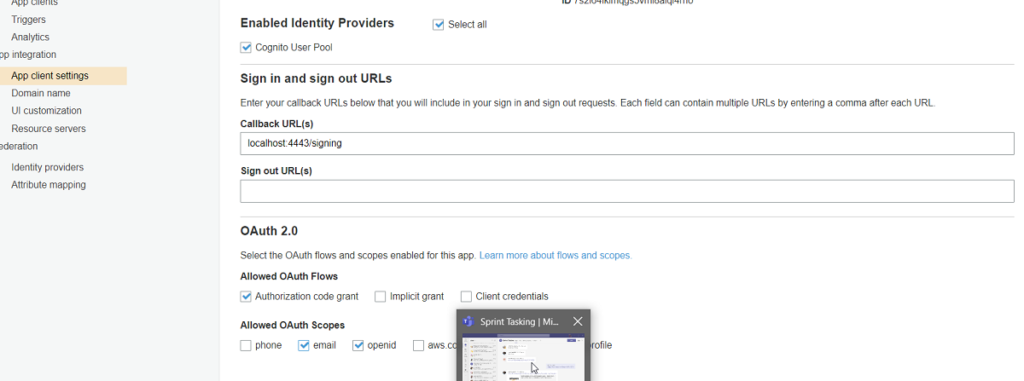
- Go to app client Setting to configure the localhost like below. Make sure to have het localhost url. You will get this by launching your .net App
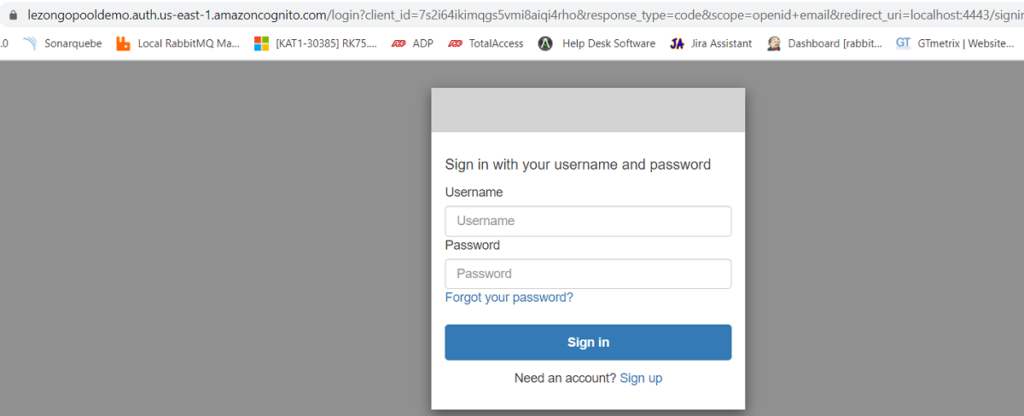
Click on the Launch Hosted UI to test the settings
2. Integrate this service in asp.net core 3.1
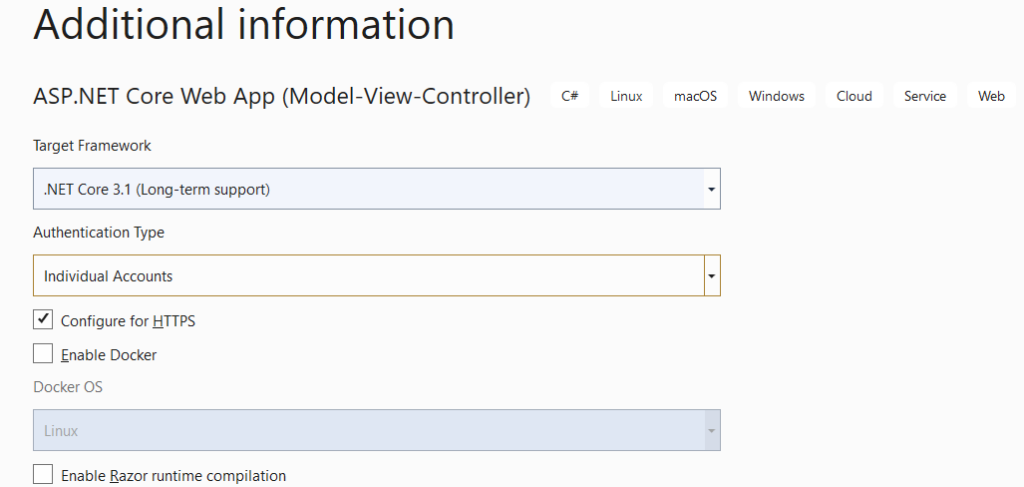
Let us create a .net core MVC app to use the created service. Create a .net core MVC web app,by adding Authentication type User Account,
Run the application and go to LOGIN. You will see the following default login from ,.net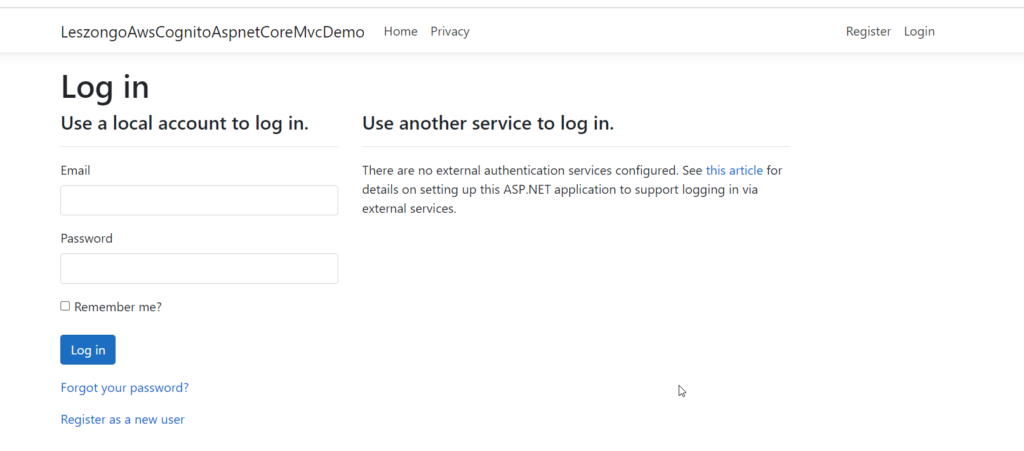
then install the following require nugget packages.
Microsoft.AspNetCore.Authentication.OpenIdConnect (3.1.xx)
Then go to Startup.cs and add the folowing code in public void ConfigureServices(IServiceCollection services)
services.AddAuthentication(options =>

{

options.DefaultAuthenticateScheme = CookieAuthenticationDefaults.AuthenticationScheme;

options.DefaultSignInScheme = CookieAuthenticationDefaults.AuthenticationScheme;

options.DefaultChallengeScheme = OpenIdConnectDefaults.AuthenticationScheme;

})

.AddCookie()

.AddOpenIdConnect(options =>

{

options.ResponseType = Configuration.GetSection("Authentication:Cognito:ResponseType").Value;

options.MetadataAddress = Configuration.GetSection("Authentication:Cognito:MetadataAddress").Value;

options.ClientId = Configuration.GetSection("Authentication:Cognito:ClientId").Value;

options.ClientSecret = Configuration.GetSection("Authentication:Cognito:ClientSecret").Value;
});
Make sure to set the value of cognito in the appsettings
When you run the app, you will be able to login using OpenIdConnect