
I am on fire this week. After releasing my AspDotNetTimeTracking application (An MVC timeTracking for your employees vacations and tasks, project..) I decided to show step by step, how to develop a mobile application for a any blog using wordpress.
At the end i will give you the APK file and the android ready source code that you can test with any Android phone, and use for your blog. This article is more toward all students or developer that are scare to take the next step: the step of doing things!
To create this app, i am using the json APi version of wordpress.
So rule number one :
- you will need to install the version by dphiffer . You can download this from HERE . This step means you have to have access to a wordpress blog. In my case i have access to my own blog, but a friend of mine also give me access to his website, so that i will be able to give him a free app.
- You need to install Ionic in your computer. You don’t need a MAC. You can use a PC or laptop to do that
- Install all IONIC component (less than 5 min) . You can get more info Here or http://ionicframework.com/getting-started/
- By the way you can use Visual studio to do all this. I prefer 2015 version. I have a ready app also that i have try using visual studio. I can send it if you want it.
- You can also use an editor such as Visual studio code or Any text editor.. i prefer SublimeText but even notepad can do the work
Now let say, your environment is ready and you are ready to put your hands to work. Here are the list of steps that you can easily follow.
Our App name will be WpZ, wordpress Z, not Zoro, but Zongo. Like DavidZ: fun right? lol
Back to serious stuff:
4. From 3 you already install a command line tool. If you did not yet, please install from https://www.npmjs.com/package/ionic
I am using gitbash, i like color coding. Here is now the list that you need to run one by one:
- Ionic start WpZ
- cd WpZ
- ionic platform add android
The first step is to create the template of our app; the second is to navigate to the folder and the 3rd is to add an Android version of the app. You can also replace android by Ios.
The following are optional for adding admob, if you want to make some extra cash money with Google. I will show the alladmob code in case you are interested
- Ionic plugin add cordova-plugin-admobpro
- cordova plugin add cordova-plugin-whitelist
IN order to see the app in the browser just run the following command:
- ionic serve
you can also run
- ionic serve -l
The following in italic is not require to continue
Now we are in business
- ionic build android
If you have your phone plug with your computer you will need to make sure it is connected.
- adb devices
This command will show a list your device connected to your computer. Then you can easily install it with:
- adb install -r platforms/android/build/outputs/apk/android-debug.apk
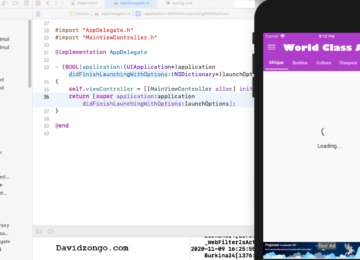
So Let talk about the real coding. What we have done until now was to use the framework tools. I have not made any code yet. The following objective is to modify the Html generated by Ionic Start wpz , and add function to call the json Api service. A service is a set of function or call available for you to consume. WordPress pluggin will expose all the services for you: good right?
Security on the JsonAPI
For security reason you wont be able to launch the app in the browser . You will see Ionic wordpress Access-Control-Allow-Origin json ApI error or No ‘Access-Control-Allow-Origin’ header is present on the …
To go faster you will need to edit the URL in the app File and change the require parameters. When you run ionic serve at this point you will get the CORS issue.This is done for security reason. If you have the issue , i also explain how you bypass it. So far i did not find any solution that work for the Cors except this. You need to open your wordpress theme, function.php file and add the following at the top:
- You will need to go to wp-content/themes/myTheme
- open functions.php
- Add this header(“Access-Control-Allow-Origin: *”); right after <?php
This is the end result.
<?php
header(“Access-Control-Allow-Origin: *”);
Customizing the app
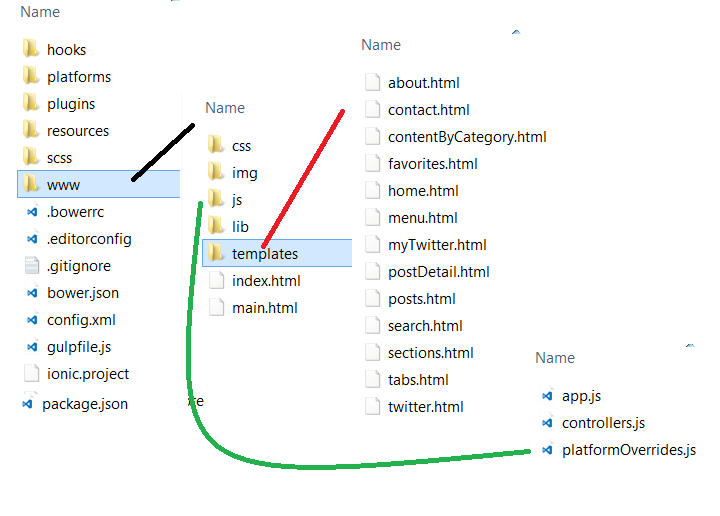
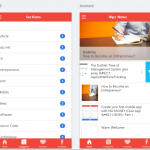
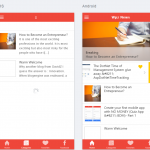
Now open your project folder and you will see the structure as follow:As you can see this is generated for you automatically. We will be working on JS , template and maybe css if needed. We will also modify the index.html to feet the need. The template file already contains my Tabs for showing the tabs in the app, my home.html for the home page. This contains the posts. PostDetail is the page when you select one post. I also added stuff like Favorites, to help the user keep his favorites article for later use. This is like bookmarking. we can display also the content by category. I will stop here , to make sure you don’t get confused. Everything is clear i believe.
For the Js i have the App.js: This is the most important file , because the engine of the app resides in it. Then the controller to hold the calls to my wordpress blog. I try to make everything easy to understand. You may find some french labels work here and there because my client site is in french.
 There is a library folder i did not mentioned , but you will see all the required library as to be sitting there: exemple: admob and localstorage for the favorites.
- Once done you can get you admob ids and such to fill up the app.js. You will be able to read more if you have some issue
- http://blog.zongotech.com/deploying-ionic-to-google-play/
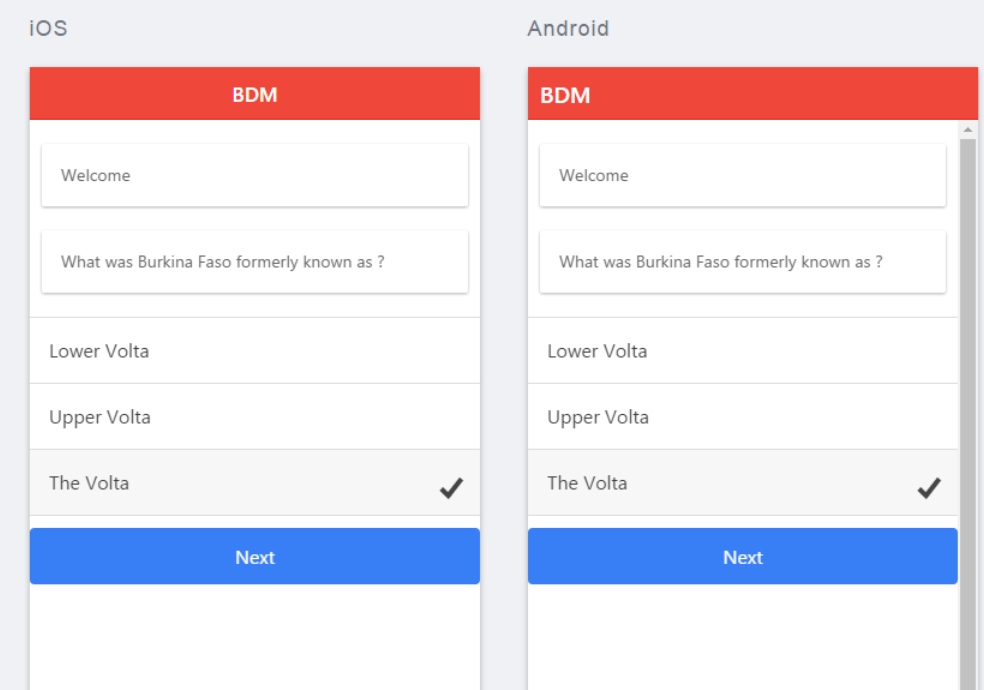
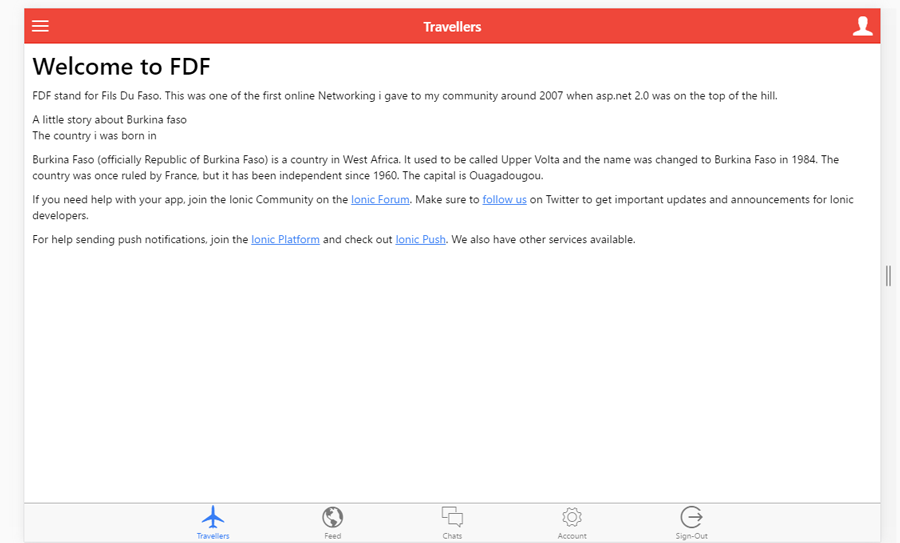
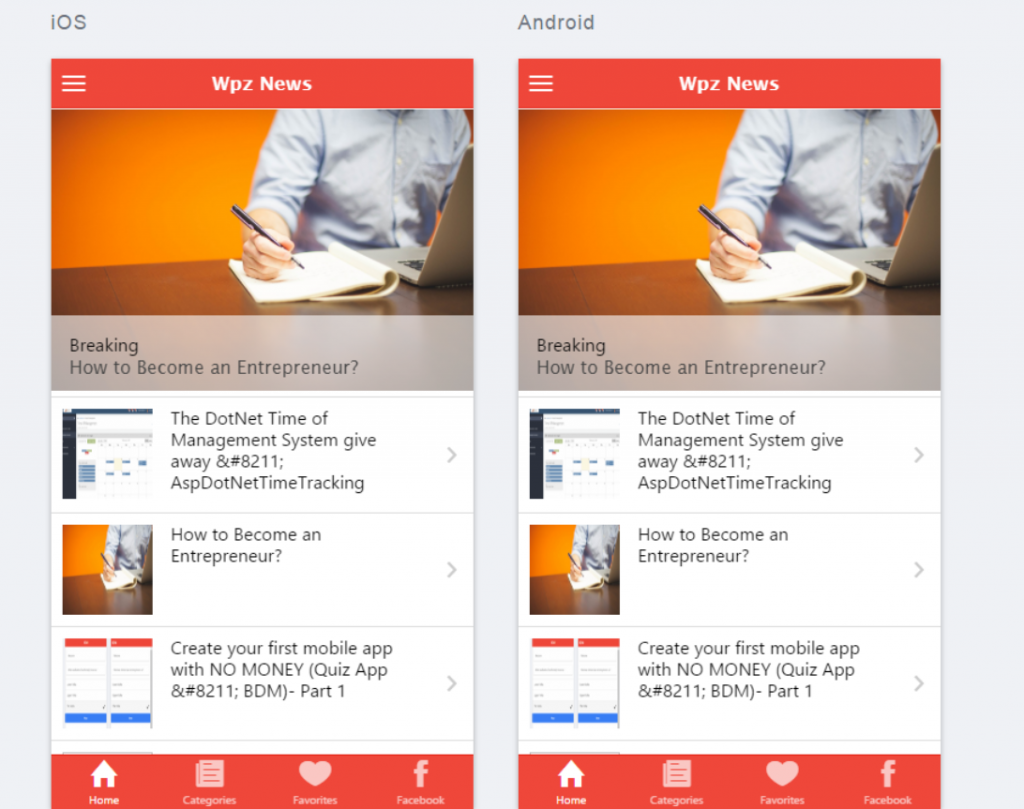
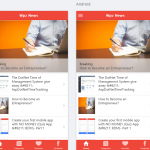
At this point everything should be in place. Run the command ionic serve and
and you will see the following mobile App.
Download APK for test
Next Week i will explain how to:
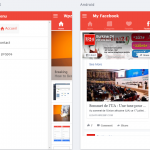
Adding Facebook page
Adding Admob from google